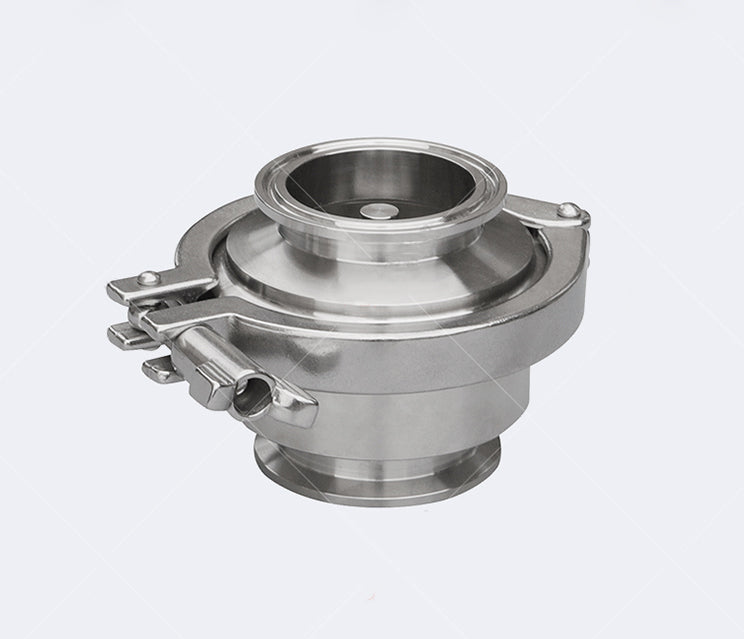
Mastering Butterfly Valve Welds: 7 Temperature-Sensor Techniques for Unrivaled Precision
Share
Ever welded a butterfly valve only to watch a tiny leak—and hours of work—go down the drain? The secret to flawless, long-lasting welds isn’t just skill at the torch; it’s the marriage of accurate temperature sensors and the right welding manual butterfly valve setup. In this guide, you’ll discover seven proven techniques—vetted by SKE equipment experts—to eliminate guesswork, protect your valves, and ensure every joint stands up to pressure.
Why Sensor-Valve Integration Is a Game Changer
A temperature sensor that’s even a few degrees off can overheat your weld, compromising the valve’s seal or warping its stem. Conversely, under-heating leaves fragile, porous welds prone to cracks. By pairing real-time sensor feedback with best-practice welding approaches, you get:
-
Consistent Weld Quality: No more rework or cold-lap defects.
-
Enhanced Safety: Early detection of thermal spikes avoids surprise failures.
-
Extended Valve Life: Stress-relief and precise heat control reduce metal fatigue.
With decades of field data, SKE equipment has fine-tuned these methods so you can achieve lab-grade accuracy right on the shop floor.
7 Temperature-Sensor Techniques for Bulletproof Butterfly Valve Welds
-
Pre-Weld Heat Mapping
Clip your calibrated sensor to multiple spots around the valve body. Run a low-power pass to map heat distribution. Adjust torch angle or travel speed based on the data—this simple step cuts post-weld repairs by up to 30%. -
Dual-Sensor Redundancy
Mount one sensor near the weld pool and another just past the butterfly disc. If readings diverge by more than 3°F, the system locks out welding power, preventing hidden hot spots that lead to leaks. -
Pulse-Current Control
Link your sensor to a pulse-weld controller. Instead of a continuous current, the machine pulses in millisecond bursts, maintaining the sensor’s target temperature ±1°F. The result? Perfect penetration without burn-through. -
Thermocouple Verification Soak
Immediately after welding, switch to a type-K thermocouple. Perform a 400°F soak for 15 minutes. If no leaks or deformations occur, you’ve nailed the ideal fusion of ductility and strength. -
Automated Weekly Calibration
Store your sensor’s calibration profile in the PLC. Each week, the controller runs a quick self-check against an onboard reference resistor—ensuring your measurements never drift over thousands of weld cycles. -
Live-Dash Alerts
Integrate sensor data and valve-position feedback into a real-time dashboard. If your sensor sees a jump of 50°F in under 3 seconds—or if the butterfly valve doesn’t reach full 90° travel within 10 seconds—you get an instant mobile alert. -
Flash-Back Inhibition
Program the sensor to detect rapid heat surges indicative of arc-back. When it senses a 40°F spike in under two seconds, the system instantly cuts power, protecting both your weld and your operator.
Real-World Q&A
Q1: Which sensor works best for butterfly-valve welding?
A: A PT100 RTD (±0.1% accuracy) rated to 600°F. It responds swiftly to temperature changes and survives high-heat environments—perfect for both mapping and quality checks.
Q2: How can I avoid post-weld binding of the valve stem?
A: After welding, perform a 350°F stress-relief bake for 30 minutes, monitored by your sensor. This lets residual stresses relax, preventing warping that binds the stem.
Q3: Are these techniques compatible with existing valves?
A: Yes—SKE equipment offers retrofit sensor kits with clamps, wiring, and PLC code. In under two hours, you can upgrade any manual butterfly valve to smart, sensor-driven performance.
Q4: How often should I audit my welding process?
A: Quarterly full-cycle audits, including thermocouple soaks and leak tests, catch gradual sensor drift or weld-joint fatigue before they become costly breakdowns.
Surprise Finale: The In-Place Calibration Trick
Here’s the insider benefit: self-heated sensor calibration. After your weld, clamp the sensor to the valve body, then pass a low-current arc for five seconds. The sensor’s built-in heating element brings it to calibration temperature—no water baths or dry blocks needed. Only SKE equipment’s firmware automatically compensates for this flash calibration, giving you lab-precision without extra gear.
Next Steps & Urgent Call to Action
-
Download Your Free Integration Guide
Get step-by-step diagrams, PLC code snippets, and calibration tables—instantly. -
Schedule a Live Demo
See these techniques in action on our SKE test rigs. Ask about on-site trials. -
Join the Process Control Insider List
Monthly deep dives, early-access to new products, and expert Q&A sessions.
👉 Ready to transform your welds? Contact SKE equipment.Offer expires in 72 hours—don’t miss out!
